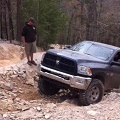
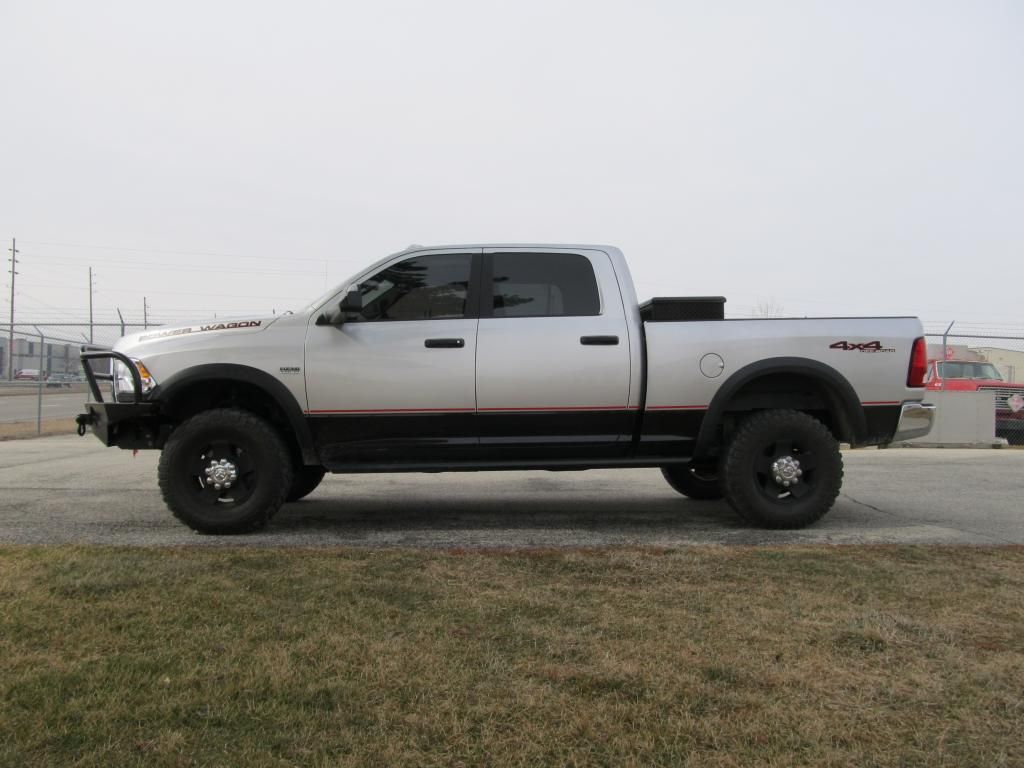
Here's a quick breakdown on the install.....
To remove the front grill, pop the hood and find the plastic cover over the radiator and front assembly. Pop this off by pulling up on the pull tabs. There are four screws on the top holding the grill to the truck. Once you remove those four screws, the grill will fall forward a little bit. Simply give a quick pull towards you at the bottom of the grill (where you'll see the grill snaps into place).

Once you remove the grill, you can see the nuts holding the front bumper in place (located down towards the front tow hooks). If I recall, I believe there are 8 bolts holding the front bumper in place. There is no need to remove the factory tow hooks to get the bumper off, but I wanted everything out of the way that I could get to. BEFORE you remove these nuts and pull the bumper off, be sure you unhook your fog lights! Pop out the clips holding the harness in place, rotate the bulb out and unhook from the main source (located by the driver's side wheel well). Side note, I unhooked mine from under the wheel well and clipped the ends off at the existing lights. Doing this, I was able to reuse the factory wiring harness to work with my new PIAA 540 Fog lights.
Now that you have the fog light wiring harness unhooked and out of the way, you can now remove the bumper. Surprisingly enough, the stock bumper was darn near the weight of the new bumper! Set the stock bumper aside and kiss it goodbye. The next step was a little difficult to try and setup. Aluminess requires you to remove the stock winch bracket assembly to remove the parts necessary to fit the new bumper. As per the instructions, I placed a floor jack underneath the winch to support the weight of the winch. BEFORE I unscrewed the bolts holding the winch bracket together, I moved the coolant overflow tank out of the way for easier access. There are two small screws holding this in place that are easy to remove.

As you can see, I just placed it on top and out of the way. With this moved, you can now access the 4 bolts to be removed (2 on each side) easily. Before touching the bolts on the winch bracket, I removed the nuts from the bolts holding the front bumper brackets into place on the outside of the frame. (Sorry no picture of that one). While I removed those nuts, I also removed the gigantic and unnecessary bracket (put in place to prevent cars from sliding underneath you in an accident). I got those brackets out of the way and put them in the "parts bin". DON'T REMOVE THE BOLTS IN THE FRONT BRACKET! The entire assembly will come crashing down if you do! NOW, you can get back to the winch bracket. I had a feeling this winch was going to give me troubles, so I used a few straps to help support the load and keep it from tipping forward on me.

With some confidence in me that this thing isn't going to come crashing down and is supported fairly well, I now slowly began to raise the floor jack to relieve some pressure. Now I can remove those 4 bolts holding the bracket assembly in place to the bumper. FYI, power tools come in really handy!


With those four bolts out and the winch balanced on the floor jack and straps, you can now remove the bolts holding the original bumper bracket on the frame.
Now it's time for assembly. I didn't take any pictures from here on out, as I wanted to get this thing put on as quickly as possible. I got the PIAA lights bolted into their brackets on the new bumper, connected the wire harness that I made earlier from the existing harness. Drilled some holes to mount the wiring harness to the new bumper. Zip tied it all up and brought the bumper over for installing. With the help of a friend (which you're going to want/need througout this process), we lifted the bumper into place. I had to take a dead blow hammer to the mounting brackets to "space them out" a little more to fit properly. When we got the first bolt in the hole, we realized all the holes weren't going to line up. The front body mount brackets (on both sides) had to be "notched out" a little for a proper fit (thank you angle grinder). Once that issue was resolved, we held the bumper in place to make sure it would work. With the winch bracket and spacer provided from Aluminess, we mounted the bumper up again, fed a bolt through on both sides (feed them through the same way you took them out, with the nut/washer going to the OUTSIDE of the frame). The bolts you will use are the same ones you took out, so keep them close by. The bolts toward the rear is something that you're going to have to find laying around (like I did), or go out and buy. There must be a difference in the 3G and 4G trucks here, since the hole size they provided on the bumper was MUCH smaller than the hole it's supposed to fill. So, you'll need two bolts, to washers and two nuts to make it work out. Tighten everything up and Voila, you're done! Sit back and enjoy. Now, put your grill back on, snap the plastic into place and you're done with the front bumper.

*****Please note, these steps are in NO WAY intended to replace the instructions that come with the bumper from Aluminess. These are just some of my finding that I thought I would share with other people interested in this bumper. Use these tips at your own risk.*********